| I am just about to start 15-1 of my tutorials. | 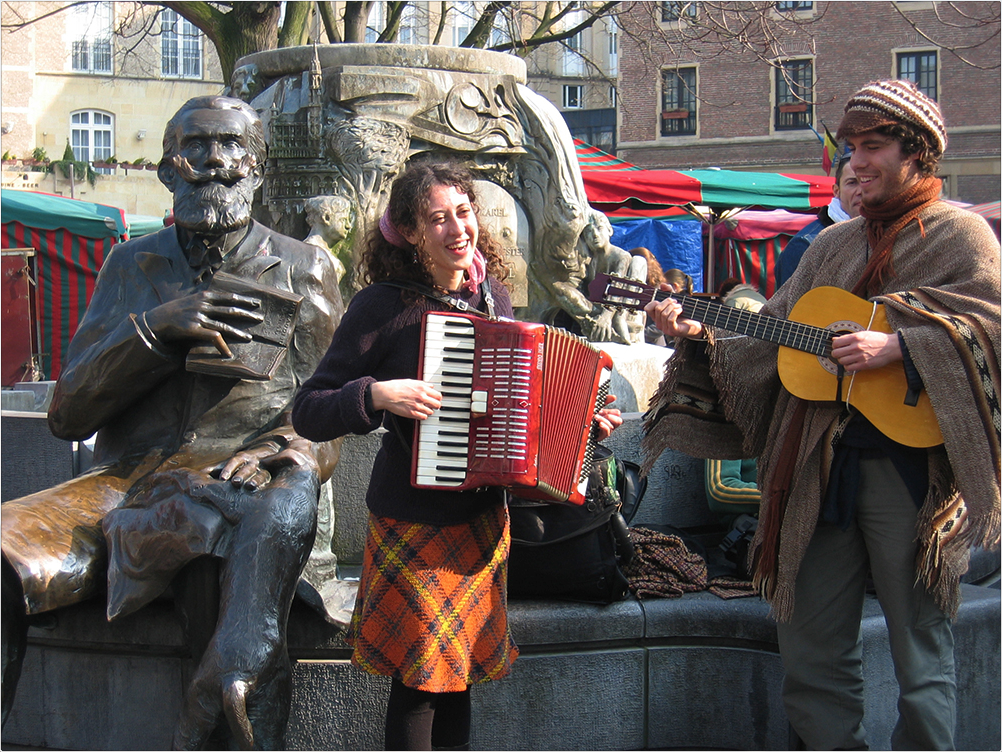 |
 I am still working on chapter 13 in tutorials, however, I have worked on creating and enhancing warped text and converting a type layer to a shape layer.
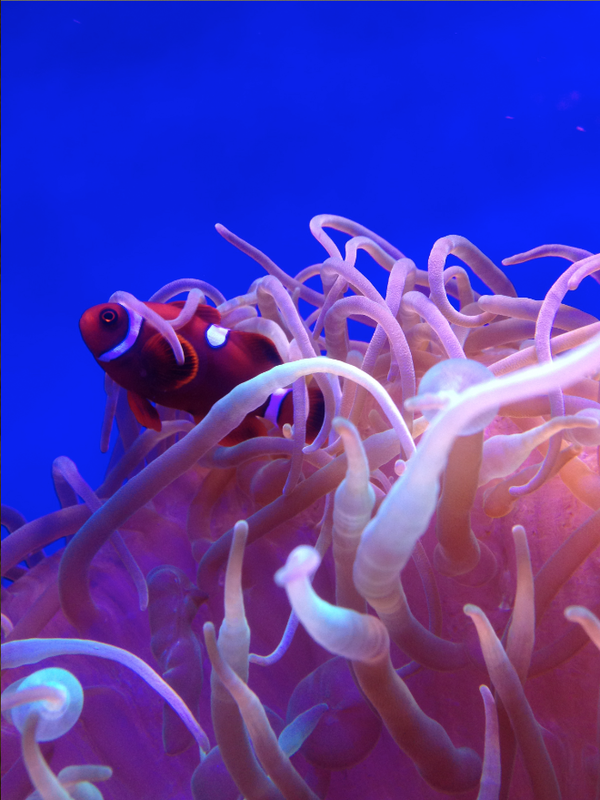 This is a fun picture of a clown fish and an anemone from my field trip to the Birch Aquarium. I took this picture with my iPhone 5 which automatically captured the warm blue color in the background, as well as, focused on the clown fish, creating a depth of field photograph. FUN FACT: anemones are plants, not animals.
Although the Depth of Field project has already passed, I just figured out how to make a slideshow so here is a gallery of my favorite pictures shot from the project!
 I am currently on page 13-7 in tutorials. Throughout chapter 13, we will learn how to use a bounding box, play with warped text, adjust layer content and create different effects.
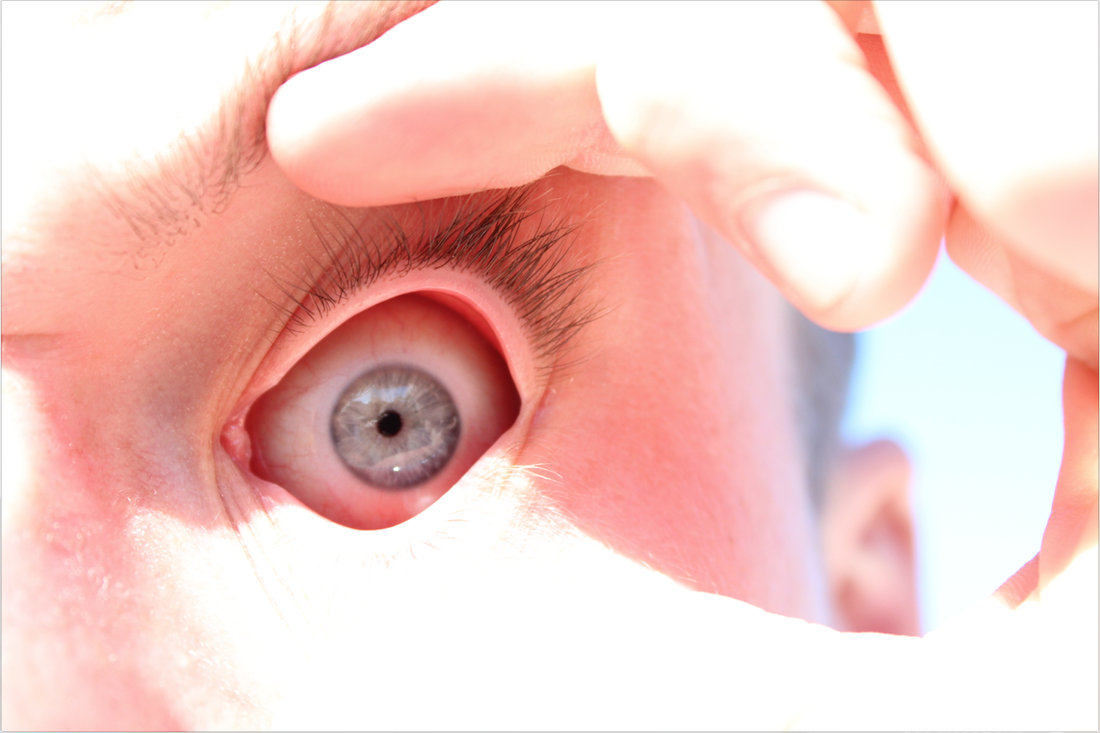 This photograph was taken in the process of taking pictures for our Reflections project. It was a sunny day outside, therefore, I used an ISO of 200, a shutter speed of 1/800, and an aperture of 5.6. This picture captures the reflective surface of Spencer's eye. This was taken on my first photo shoot aimed at capturing reflection photographs so stay tuned for more!
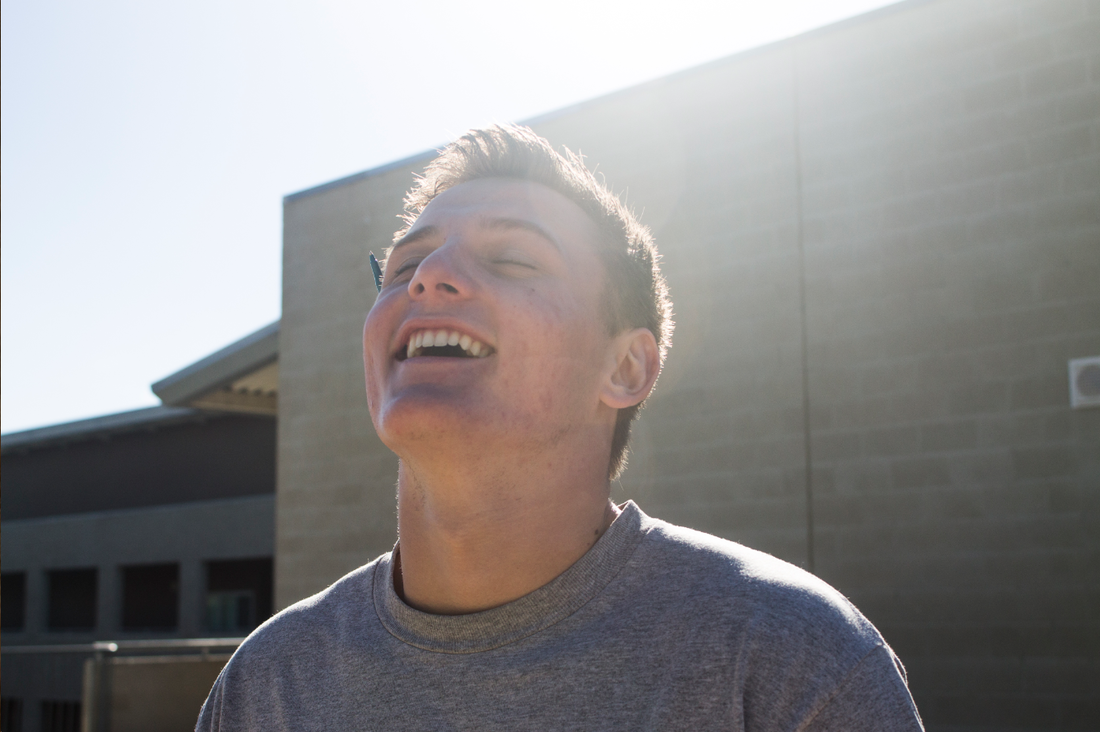 This is my portrait image that I edited in Camera RAW. When I captured this photograph, it was a sunny day outside which affected the way I utilized my settings. I used a larger aperture settings around 5.5. Also, I used a medium shutter speed at approximately 1/800 and an ISO setting of 200. I like the subtle sun spots that showed up on the photo. Also, I like how the image goes from brighter where the sun is shining at the top of the image, to darker a you go down the image. However, next time, I will work on the composition of the photograph and experiment more with cropping and placement of the focal point of the image.
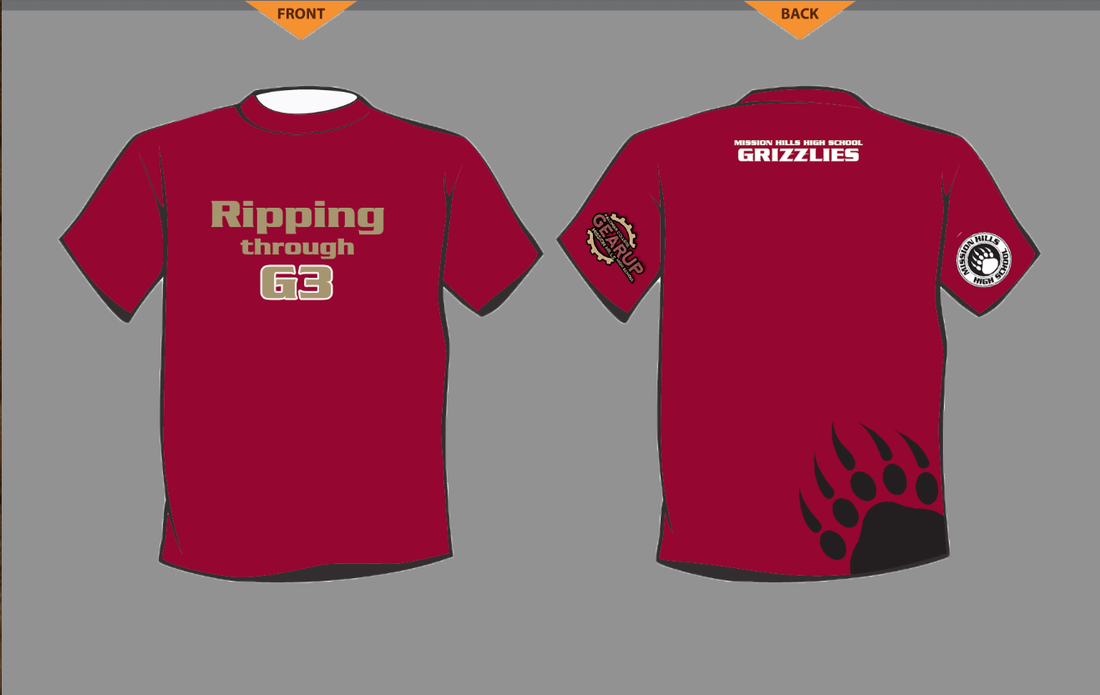
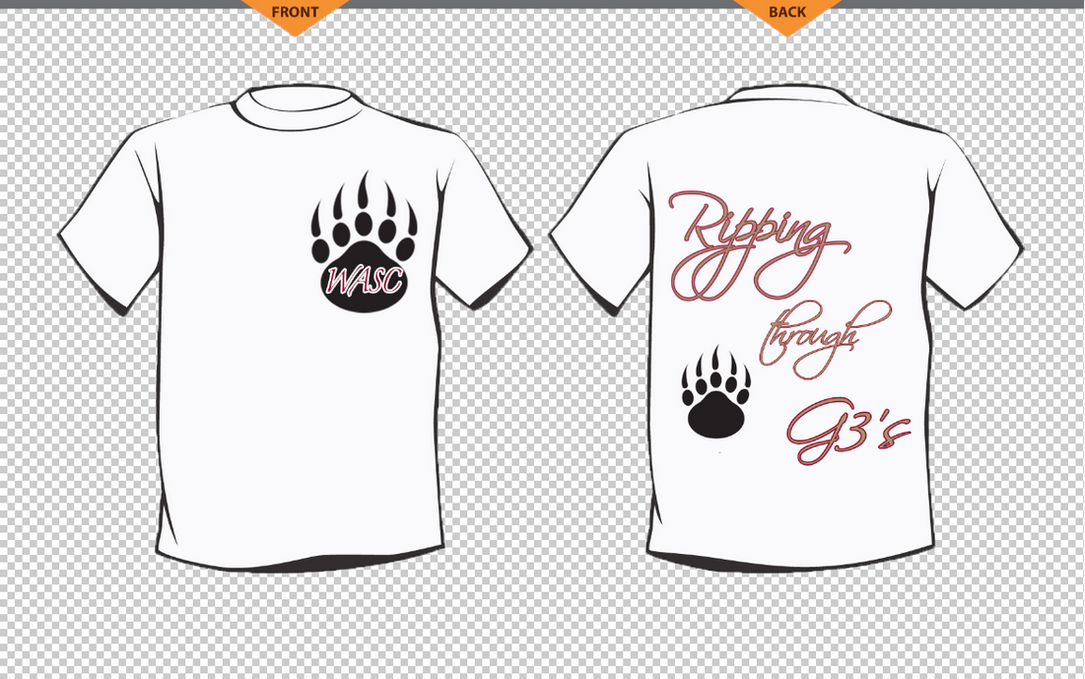
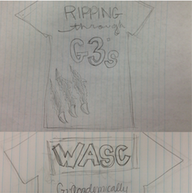
Our school hosted a t-shirt contest to see who could design the best shirt! The shirt had to be about the Western Association of Schools and Colleges (WASC) and how Mission Hills High School incorporates their G3 standards to meet the WASC requirements. I worked with Ismael Pholert, Gillian McConnell, and Hunter Kassow. This is what my group came up with :) I like the simplicity of the t-shirt the most. The front logo is not too complex and represents the focus of the shirt. This project taught me that requests will sometimes pop up and surprise you and you have to stay relaxed and versatile enough to stop everything else and get it done. Also, the client is always right. It takes a lot of team work and collaborating as well. I liked working in Adobe Illustrator because we could change text with more options that in photoshop. However, we used photoshop for most of the project because my current knowledge makes it easier to use that system over Adobe Illustrator.
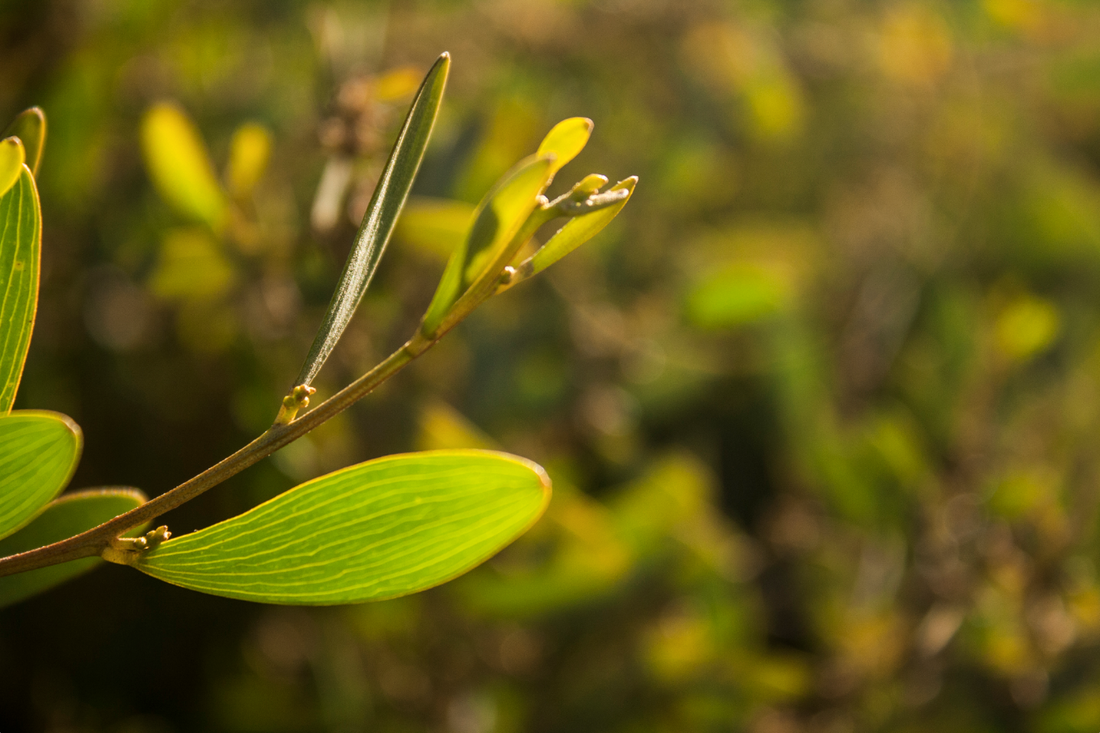 This photograph was taken at the beginning of my "Depth of Field" project. The image emphasizes the leaves that seem to be closer than the blurred out background. Using an ISO of 400, an aperture of 5.6, and a shutter speed of 1/400, the particular autumn-feeling light was captured. Moreover, a zoom of 55 millimeters was able to perfectly capture the leaves and transform them into the focal point of the entire picture. I hope to advance my skills in Depth of Field throughout the remainder of the project! :)
 This tutorial encompasses all the lessons in chapter 11 (page 11-2 through 11-17). Using tools in photoshop, we enhanced the original picture by modifying color balance settings for the bottom left green heart, as well as saturating a color range and using the Sponge tool to saturate the yellow and orange hearts respectively. Moreover, we played with the color of the purple heart using level settings. Lastly, we added a color sample and a lighting effect to create the bright emphasis in the middle of the image.
|
¡Hola!This Is My Blog! You'll Find My Analysis Of A Variety Of Different Photographers And Their Use Of Elements Of Photography. Also, You Will Find My Personal Projects That I Have Done In My Digital Photography Class. Make Sure You Check Out My Quirky Word Of The Day Blog Page Next!
Archives
May 2015
Categories |
 RSS Feed
